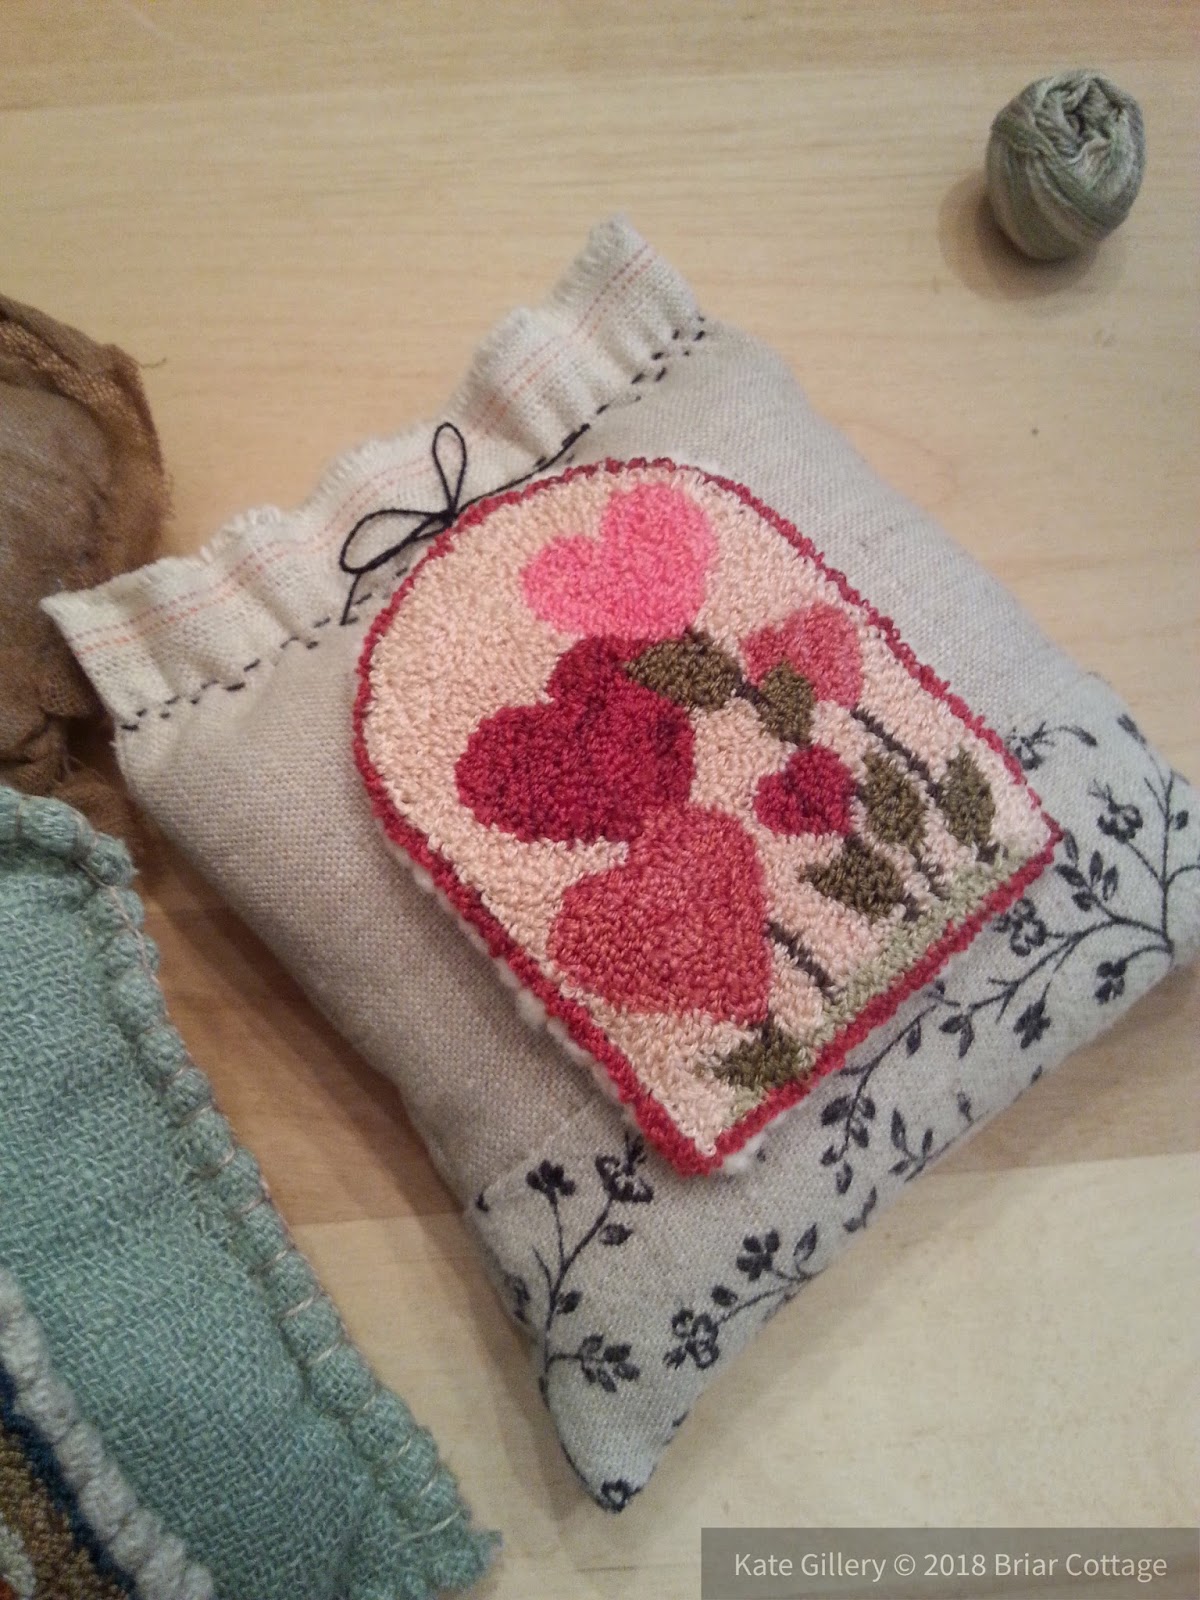
Mini punch needle, used as Refrigerator magnets. I am enjoying the ones I made.
I hope you enjoy yours just much!
Below are the instructions for attaching the 2 part magnet.
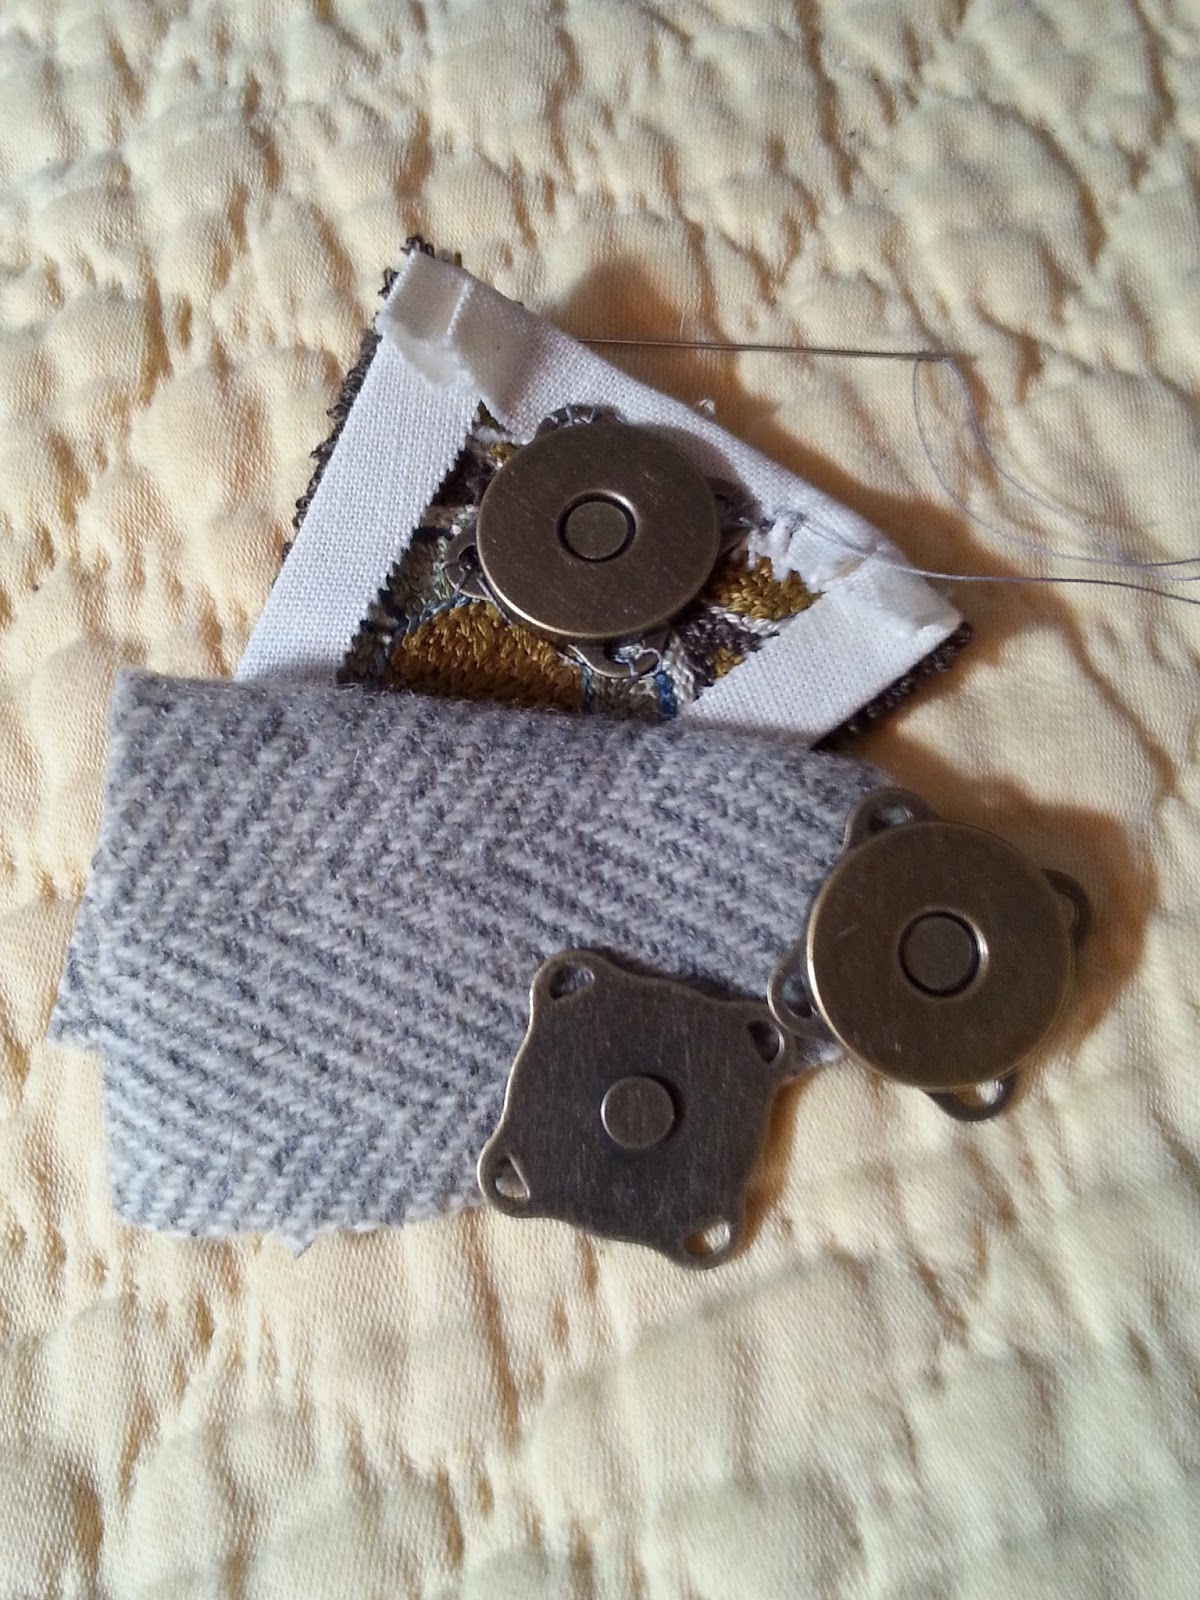
If you purchased the magnet from my Etsy shop you will notice that the magnet has two parts the one above is the magnetized portion, the one below is not. The top magnetized portion is what you will sew to the back of the punch needle mini.
The bottom two pieces show the two part magnets at close detail the one on the right is the magnetized side this is the piece you will sew to the back of the punch as shown. The other side on the left is again not magnetized. this will attach to the outside after the backing is sewn on.
I trim mine to about a 1/4 inch from the punched edge. Turn the trimmed hem to the back side use an iron to press in place, I use the wool the hottest setting. There is no need to sew it in place. while your iron is hot iron the backing also to make sure there are no wrinkles. If you are using felted wool you can cut it to the exact edge size. If you are using cotton you will want to turn the edge in just the same as the weavers cloth 1/4 inch hem.
This is how the magnet should look after sewn onto the punch needle. Now you can sew the desired backing to the punch needle. Place the backing right over the magnet its alright it will still hold onto the fridge or the second part of the magnet.I like to use a blanket stitch, you may use any stitch you prefer.
This is a photo of the back finished and ready to go.
Notice you cannot see the magnet anymore.
This photo shows the 2nd part of the magnet it actually magnetized to the magnet under the backing.
The 2nd part is where you will attach the key, a ring or any hanging material you like for an ornament etc. you also may want to attach a pin for a brooch or a wool loop for a pendant. This can then be removed or exchanged with another for unlimited uses. the sky is the limit on what you can do with the Mini!
Remove the 2nd part of the magnet and use it again as a refrigerator magnet.
I have started a few boards on Pinterest to help give you ideas on how to decorate the Mini.
Here are the links:
https://www.pinterest.com/KateGillery/mini-punch-needle-decorating-ideas/
https://www.pinterest.com/KateGillery/fiber-tree-decorations/
https://www.pinterest.com/KateGillery/punch-needle-mini-designs/
Enjoy,
Kate